The Easiest Way to Start with Better Bars and Fewer Rookie Mistakes
If you want to make soap at home, the safest beginner move is usually to start with a melt-and-pour base instead of jumping straight into lye-heavy cold-process recipes. You still get to customize scents, add-ins, and molds, but you avoid the part most likely to turn a relaxing DIY project into a chemistry problem.
If you are curious about homemade soap but do not want your first attempt to feel risky or overwhelming, this is the easiest place to begin. A simple melt-and-pour batch lets you learn the process before deciding whether you want to go deeper.
Why Melt-and-Pour Is the Best First Method
- You skip direct lye handling.
- You can finish a batch in one session.
- It is easier to control color, scent, and shape.
- Mistakes are cheaper and easier to fix.
- You still learn the workflow of weighing, melting, mixing, and molding.
If your goal is to make a few good bars for your shower, gifts, or a calmer bathroom routine, melt-and-pour gets you there faster.
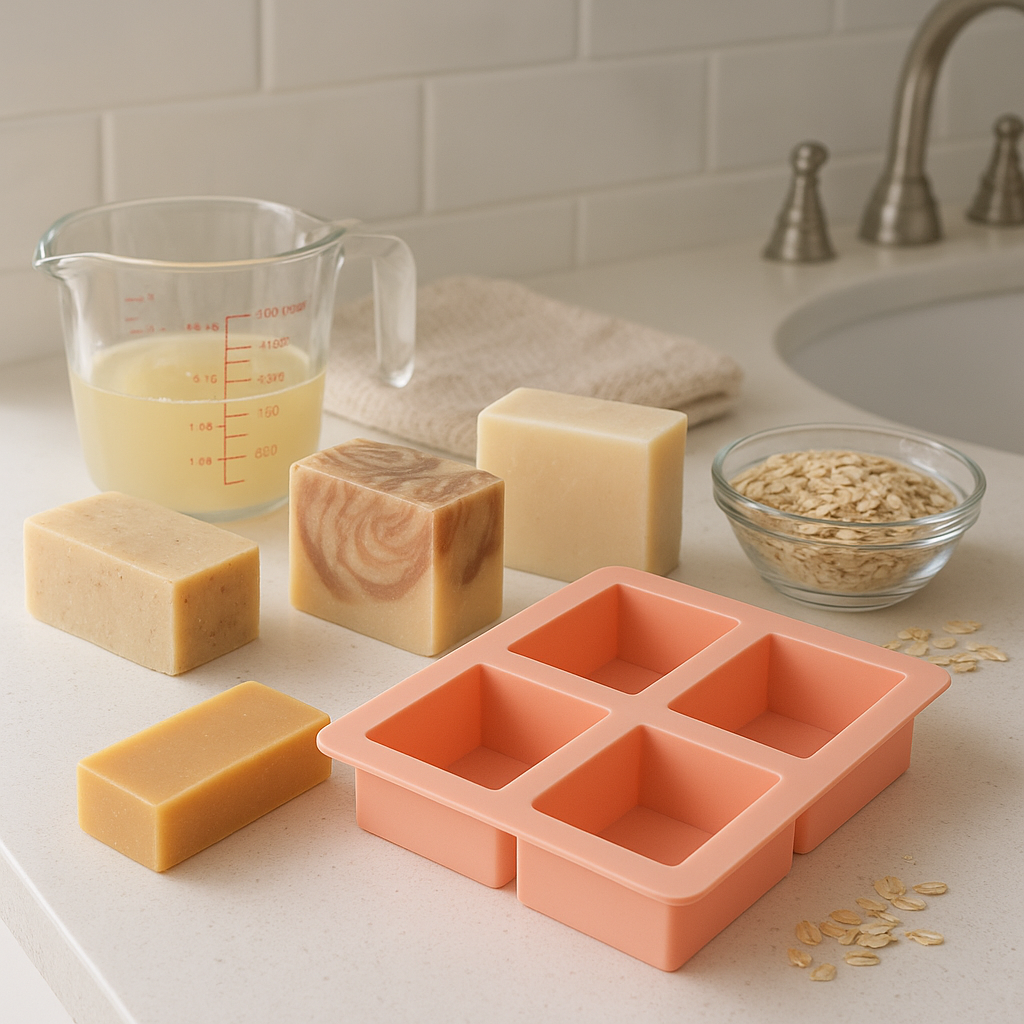
What You Need
- a melt-and-pour soap base such as glycerin, shea, or goat milk
- a heat-safe measuring cup or pitcher
- a microwave or double boiler
- a silicone mold
- a spatula or spoon
- rubbing alcohol in a spray bottle to reduce surface bubbles
- optional add-ins such as oatmeal, dried botanicals, or skin-safe fragrance oil
Keep the ingredient list simple for your first batch. Too many extras make it harder to figure out what worked.
Basic Safety Rules First
Even beginner soap making is still a heated project with ingredients that touch skin later, so treat it like a real process.
- Use clean tools and a clean work surface.
- Do not use random craft glitter, candle fragrance, or unknown oils on skin.
- Add fragrances lightly so the bars stay usable.
- Let melted base cool slightly before stirring in extras.
- Keep water out of the soap base as much as possible so the texture stays smooth.
- If you want to move into cold-process later, read up on lye safety first instead of improvising.
Melt-and-pour is beginner-friendly, but not every add-in belongs in soap.
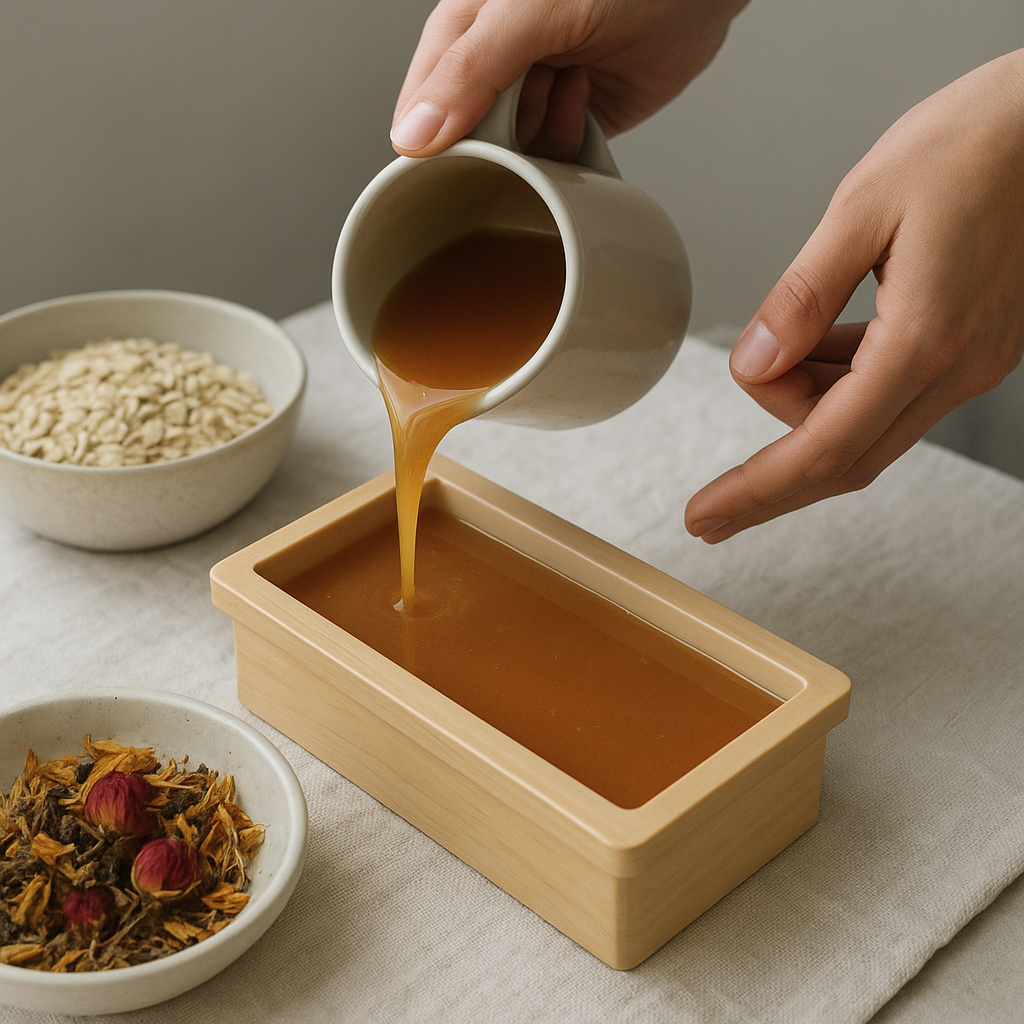
How to Make a Simple Beginner Batch
- Cut the soap base into small cubes so it melts evenly.
- Heat it in short bursts in the microwave, or use a double boiler, until just melted.
- Stir gently instead of whipping air into it.
- Add a small amount of fragrance or add-ins.
- Pour into the mold.
- Spray the top with rubbing alcohol if bubbles form.
- Let the bars cool and harden completely before removing them.
That is enough for a real first batch. You do not need layered swirls, five scents, or an elaborate color story on day one.
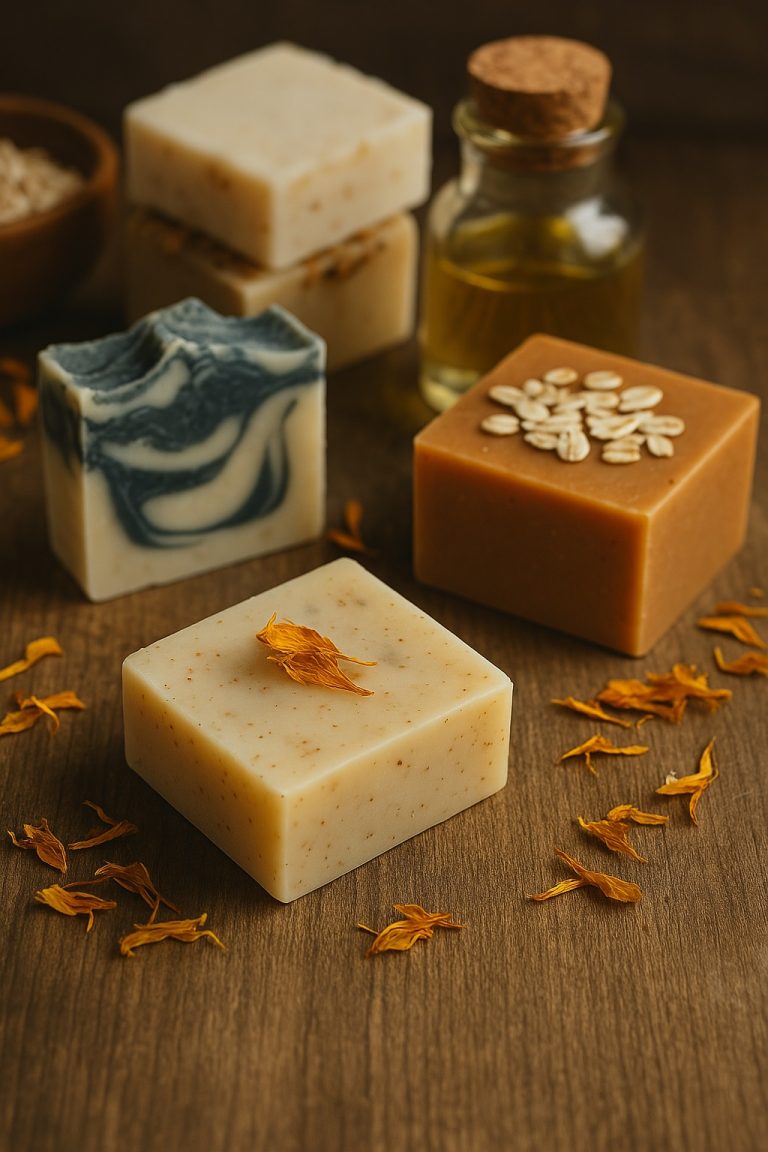
The Best Beginner Add-Ins
Start with one or two of these:
- finely ground oatmeal for a gentler texture
- a small amount of dried calendula for visual interest
- a skin-safe fragrance oil used lightly
- simple color made for soap, not random household dyes
Add-ins should make the bar more pleasant, not harder to use. Large sharp botanicals and heavy chunks often look better than they feel.
Common Beginner Mistakes
Using too much fragrance
More scent does not automatically mean better soap. Overdoing it can affect texture and make the bar less pleasant on skin.
Adding ingredients that spoil easily
Fresh fruit, too much milk, or wet plant matter can create problems. Keep it dry, simple, and skin-safe at first.
Rushing the unmolding step
If the bars still feel soft, give them more time. Pulling them too early usually creates dents, tears, or ugly edges.
Treating decorative soap like everyday soap
The more extras you add, the more likely you are building a novelty bar instead of something you will actually want in your shower.
When to Try Cold-Process Soap
Cold-process soap gives you much more control, but it is not the right first move for everyone. Try it after you know you actually enjoy the hobby and after you understand lye handling, ventilation, gloves, eye protection, and recipe accuracy.
If you are still deciding whether homemade soap belongs in your routine, start with the safer version. That is enough to learn the craft without making the barrier so high that you never begin.
Where This Fits in a Real Wellness Routine
Homemade soap is most useful when it becomes something you actually enjoy using, not just something you made once. A simple bar that works well in your shower or at the sink is a better first goal than an overly decorative project.
FAQ
Is homemade soap safe for beginners?
Yes, especially if you start with melt-and-pour soap base and keep the recipe simple.
Do I need lye to make soap at home?
You need lye for true cold-process soap from scratch, but you do not need to handle it directly for melt-and-pour projects.
What is the easiest soap to make first?
A basic unscented or lightly scented melt-and-pour bar in a simple silicone mold is the easiest place to start.
Final Thoughts
The best beginner soap project is not the most impressive one. It is the one that teaches you the process safely, gives you a bar you will actually use, and makes you want to make a second batch. Start simple, keep the ingredients skin-safe, and focus on making one solid batch you would use again.