A More Forgiving Tomato Setup for Patios, Decks, and Small Sunny Spaces
Grow bags can be one of the easiest ways to raise tomatoes in a small space, but they only feel easy when the setup gives the roots enough room, enough moisture, and solid support from the start. When bags are too small or care gets uneven, the problems show up fast: curled leaves, split fruit, blossom-end rot, weak growth, and a plant that seems thirsty all the time.
The good news is that most of those problems come from a short list of avoidable mistakes. Get the bag size, potting mix, watering rhythm, and feeding plan right, and tomatoes in grow bags can produce heavily without taking over the whole patio.
The short answer
- Use one grow bag per tomato plant.
- Choose at least a 10 gallon bag for most full-size tomatoes, and 15 gallons if you want more moisture buffer.
- Fill it with fresh container mix, not garden soil.
- Plant deeply, mulch the surface, and add support right away.
- Water slowly and thoroughly whenever the root zone starts drying, not on autopilot.
- Feed steadily once the plant is actively growing and flowering.
If those six things are in place, grow bags stop feeling fussy and start acting like a reliable tomato setup.
Why tomatoes do well in grow bags
Tomatoes like warm roots, loose mix, and good drainage. Fabric grow bags help with all three. They drain faster than many rigid containers, the roots get more air, and the bags are easy to place anywhere that gets strong sun.
- Good drainage: less risk of water sitting around the roots after heavy watering.
- Flexible placement: useful for patios, driveways, balconies, and rental spaces.
- Better root environment: the mix stays looser than it often does in compacted soil.
- Easy end-of-season cleanup: empty bags are simpler to store than large pots.
The tradeoff is moisture loss. Bags can dry faster in wind and heat, so success depends on building enough buffer into the setup instead of trying to rescue the plant later.
Pick the right tomato type before you pick the bag
Any tomato can technically grow in a bag if the container is large enough, but some are much easier than others.
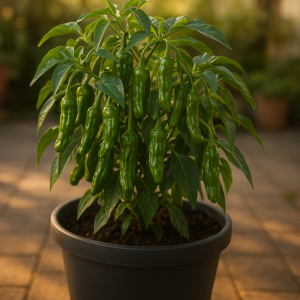
- Cherry and small salad tomatoes: the easiest choice for most patios and balconies.
- Determinate or bush tomatoes: more compact and usually easier to manage in medium bags.
- Indeterminate slicers and paste tomatoes: productive, but they need larger bags, stronger support, and more consistent feeding.
- Large beefsteak types: possible, but they ask a lot from a container setup and dry out fast when root room is limited.
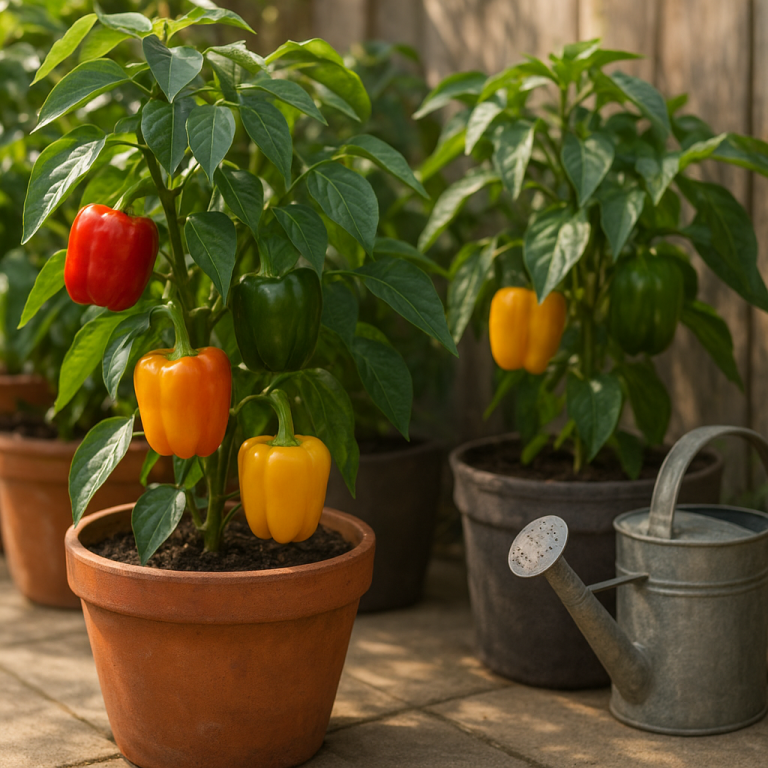
If you want a compact, lower-risk option, start with a cherry type. This guide to growing cherry tomatoes in pots is useful if you are deciding between a standard pot and a fabric bag.
Best grow bag size for tomatoes
Bag size matters more than most people expect. A small bag can keep a tomato alive, but it often cannot keep moisture and nutrients steady enough for clean, trouble-free fruiting.
- 5 to 7 gallons: only for dwarf or very compact tomato varieties.
- 10 gallons: the practical minimum for many determinate tomatoes and smaller indeterminate types.
- 15 gallons: a better all-around choice for most gardeners because it gives the roots more room and slows moisture swings.
- 20 gallons and up: useful for vigorous indeterminate tomatoes or very hot, windy sites where smaller bags dry too fast.
For most people, one healthy plant in a 15 gallon bag is easier and more productive than trying to crowd two plants into one container.
Use the right potting mix, not backyard soil
Grow bags need a loose, well-draining mix that can still hold enough moisture between waterings. Heavy garden soil usually compacts too much, drains unevenly, and makes root stress worse.
- Use fresh potting mix made for containers.
- Mix in compost if you want extra body, but do not turn the bag into dense mud.
- Add mulch on top after planting to slow evaporation.
- Keep the bag raised slightly if runoff tends to pool underneath it.
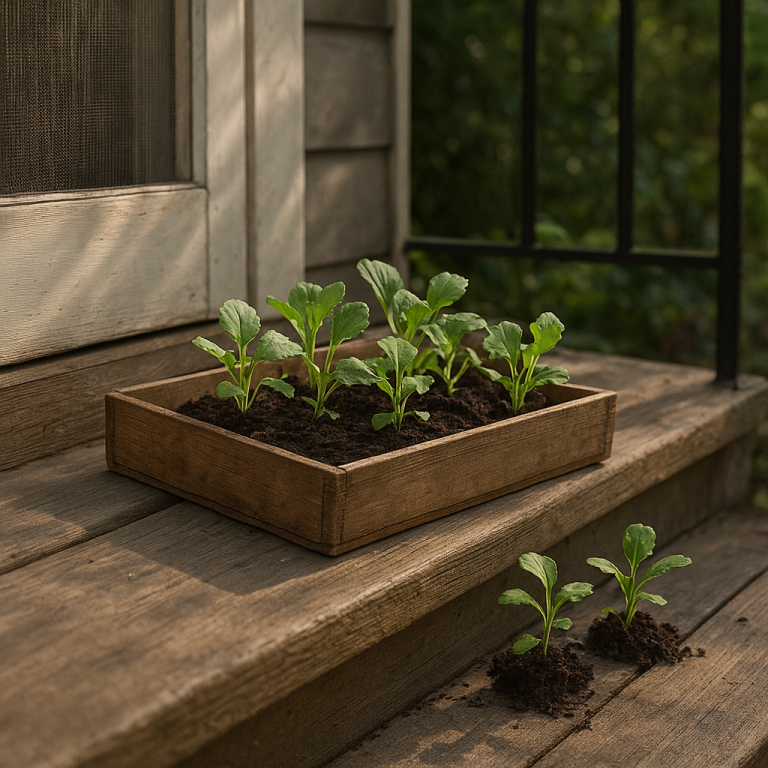
If you are transplanting seedlings you started indoors, move them carefully and avoid rough root handling. This guide on transplanting vegetable seedlings without shock covers the part that usually goes wrong before the plant ever settles into the bag.
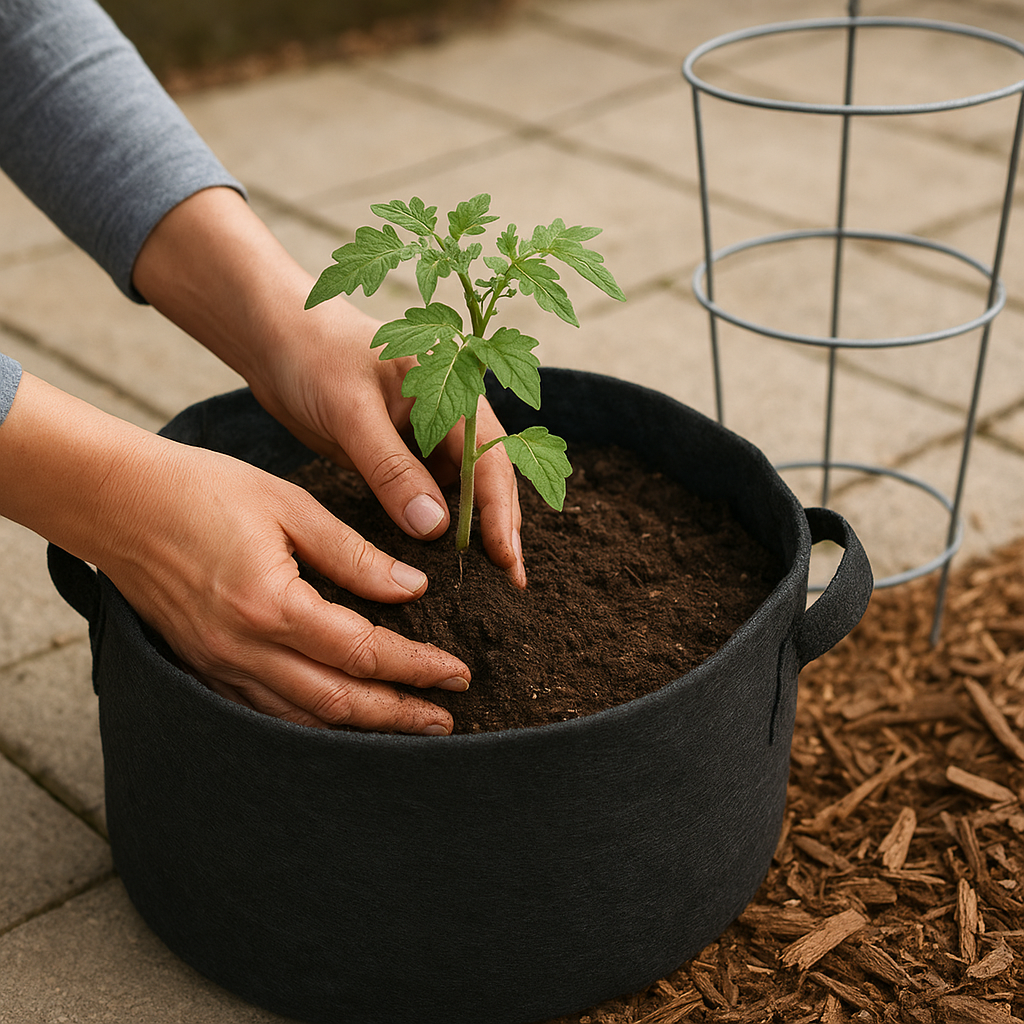
How to plant tomatoes in grow bags
- Fill the bag most of the way with fresh potting mix, leaving a little room at the top for watering.
- Remove the lowest leaves from the seedling.
- Plant the seedling deeper than it was in its nursery pot so part of the stem is buried.
- Firm the mix gently around the root ball.
- Water slowly until the whole bag is evenly moist and excess drains out.
- Mulch the top surface and install the support before the plant gets large.
Tomatoes can root along buried stem sections, so deep planting helps build a stronger root system instead of leaving the plant tall and top-heavy.
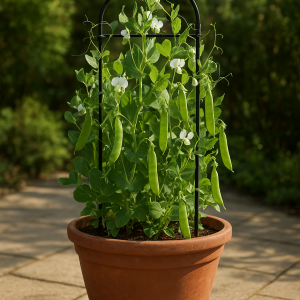
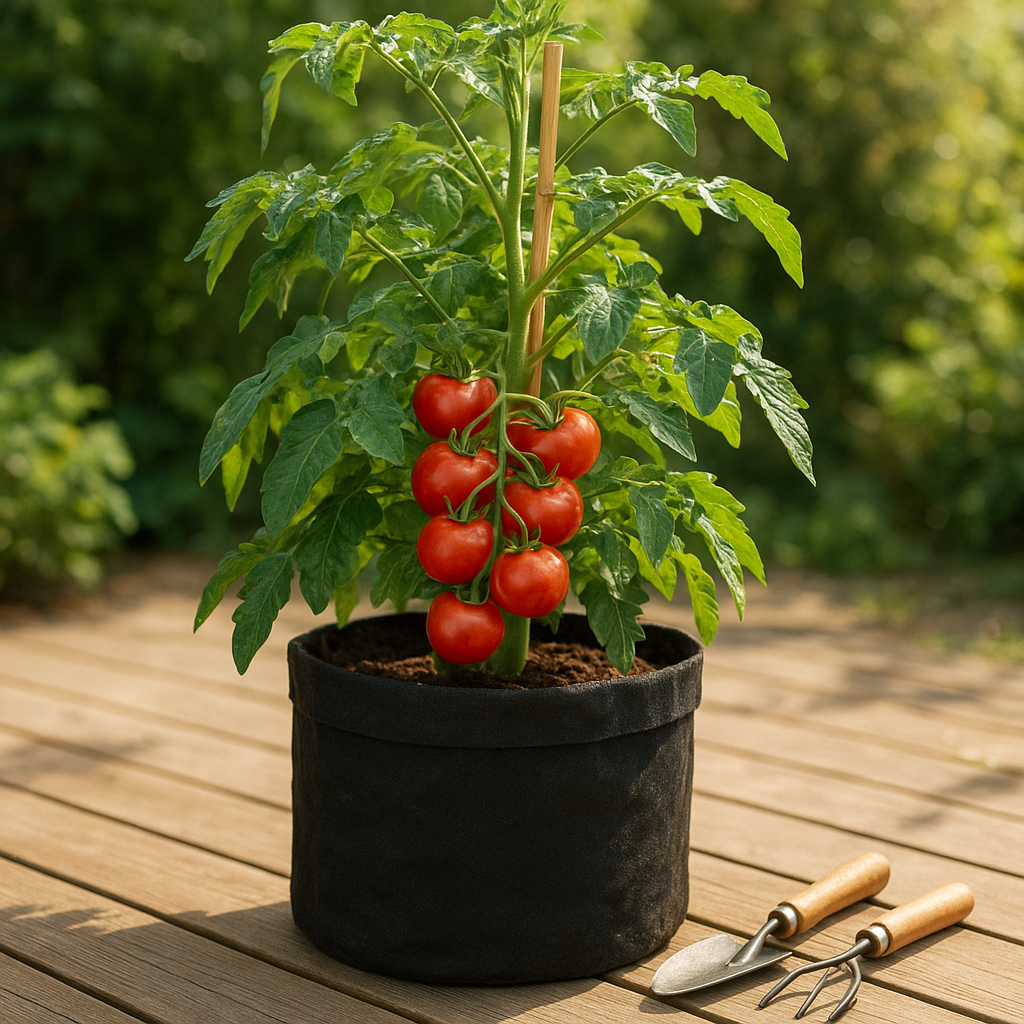
Add support immediately
Grow bags are light enough that a large tomato can become unstable in wind, especially once the plant starts loading up with fruit. Put in the cage, stake, or trellis at planting time instead of trying to force it in later.
- Compact tomatoes: a sturdy cage is usually enough.
- Taller indeterminate tomatoes: use a strong stake or trellis with soft ties.
- Windy patios: place the bag where the plant gets sun without taking the full force of the wind all day.
Early support does more than keep the plant upright. It also improves airflow and keeps fruit off hot surfaces and damp soil.
Water for consistency, not drama
Most tomato trouble in grow bags starts with uneven moisture. Let the root zone go bone dry, then soak it hard, and you increase the odds of split fruit, blossom-end rot, leaf curl, and stalled growth.
Check the bag every day once the plant is established. In mild weather you may not need to water daily, but in hot or windy conditions a fruiting tomato in a grow bag can need water every day and sometimes twice a day.
- Water the soil, not the leaves.
- Water slowly so the whole root ball gets moistened.
- Stop when excess begins draining from the bottom.
- Use the feel of the mix and the weight of the bag to guide timing.
When summer heat ramps up, this guide on watering container plants in hot weather helps you judge what the bag actually needs instead of guessing from the calendar.
Feed tomatoes before the bag runs flat
Tomatoes are heavy feeders, and a grow bag has a limited amount of mix to draw from. Once the plant is actively growing, a simple feeding plan works better than waiting for pale leaves and then reacting with a heavy dose.
- Start with quality potting mix.
- Use a slow-release fertilizer at planting or shortly after, if the mix is not already charged.
- Add a diluted liquid feed during active growth and fruiting if the plant starts to fade or slow down.
- Avoid chasing every problem with extra fertilizer before checking light and moisture first.
This guide on fertilizing vegetables in pots goes deeper on how to feed container crops without turning them into leafy, stressed plants.
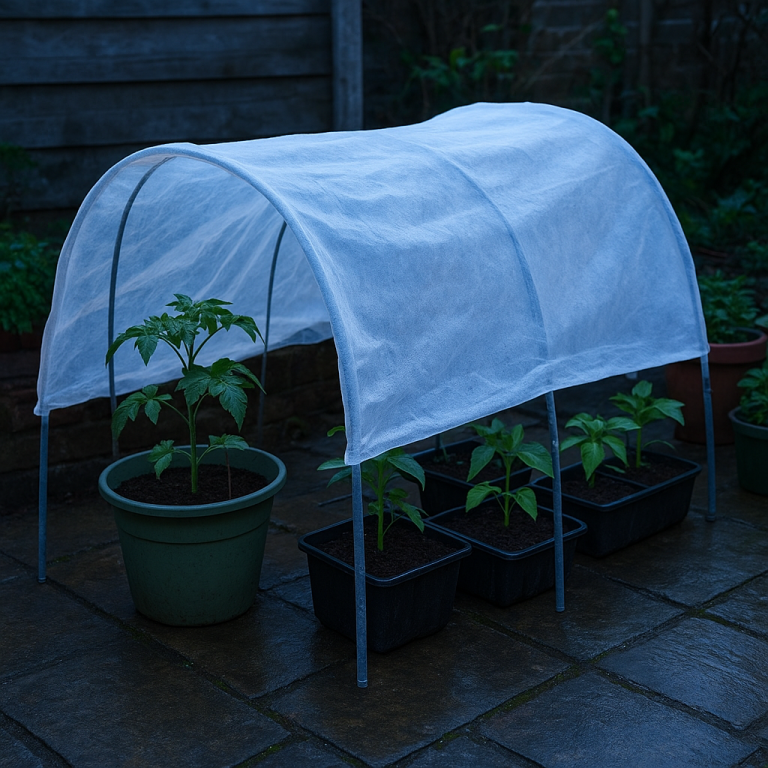
Protect the plant from heat and wind stress
Grow bags warm up fast and lose water quickly when the weather turns harsh. That does not make them a bad choice. It just means they need a little more planning in exposed spaces.
- Mulch the top of the bag to slow evaporation.
- Use a larger bag if your patio gets intense afternoon sun.
- Water early enough that the plant enters the hottest part of the day hydrated.
- Group containers if possible so they shelter each other a bit from wind.
If the leaves wilt hard every afternoon but recover by evening, check the root zone first. In many cases the plant is not diseased. It is simply running out of available moisture too fast.
Common problems and the fastest fixes
Blossom-end rot
This looks like a dark, sunken patch on the bottom of the fruit. The usual trigger is inconsistent moisture, not just a lack of fertilizer. Keep watering steadier and avoid letting the bag swing from dry to soaked.
Split fruit
Tomatoes often split after an irregular watering pattern. If the bag dries hard and then gets drenched, the fruit swells faster than the skin can keep up.
Lots of leaves but not much fruit
Too much nitrogen, weak light, or a variety that is simply too large for the setup can all cause this. Back off heavy feeding and make sure the plant gets real direct sun.
Yellow lower leaves
A few older leaves fading low on the plant is normal. Widespread yellowing can mean underfeeding, soggy roots, or a bag that has become too cramped.
Wilting even when the bag seems damp
Roots can still struggle if the mix is compacted or staying wet too long at the bottom. Make sure drainage is clear and that runoff is not trapped under the bag.
When to harvest
Pick tomatoes once they reach full color and feel slightly soft, not rock hard. Frequent picking reduces splitting risk and keeps the plant moving instead of leaving overripe fruit hanging in the sun.
Quick FAQ
How many tomato plants fit in one grow bag?
Usually one. A single plant in a properly sized bag is easier to water, feed, and support than two crowded plants fighting for the same root space.
Are grow bags better than pots for tomatoes?
They can be, especially if drainage is a problem in your setup. Pots hold shape better and often hold moisture a little longer, while grow bags usually give the roots more air.
Do tomatoes in grow bags need daily watering?
Often yes once the weather turns hot and the plant is large, but not always. Check the mix instead of following a fixed schedule.
What size grow bag is best for indeterminate tomatoes?
At least 10 gallons, with 15 gallons being a more forgiving choice for steadier moisture and stronger growth.
The short version
Tomatoes in grow bags do best when the bag is larger than you think, the mix is loose and fresh, the support goes in early, and watering stays even from planting through harvest. Most of the classic problems come from small bags and wild moisture swings, not from the method itself.