A Fast Indoor Harvest That Stays Clean, Upright, and Worth Eating
Microgreens are one of the fastest edible crops you can grow at home. They need very little space, they finish in days instead of months, and they give you a fresh harvest even when outdoor beds, balconies, or larger containers are not practical.
Most failures come from a few repeat problems: trays that stay too wet, weak light that makes stems stretch and collapse, or seed sown so thick that the whole surface turns into a damp mat. If you want clean, flavorful microgreens, the setup needs to stay simple and the moisture needs to stay controlled.
The short answer
- Use a shallow tray with drainage plus a solid tray underneath to catch water.
- Fill it with 1 to 2 inches of moist seed-starting mix or fine potting mix.
- Sow microgreen seed densely but in a fairly even layer, not in thick piles.
- Press the seed down gently so it makes good contact with the surface.
- Keep the tray evenly moist, preferably by bottom watering after germination.
- Give the tray strong light as soon as the seedlings need it, and add airflow so the stems stay dry and sturdy.
- Harvest with clean scissors just above the soil line once the first true leaves begin to appear.
If those seven things are right, microgreens are much easier than they first look.
What counts as a microgreen
Microgreens are young vegetable or herb seedlings harvested after the cotyledons open and usually around the time the first true leaves start showing. They are older than sprouts and younger than baby greens. That small window is what gives them strong flavor, quick turnaround, and a tender cut-and-use texture.
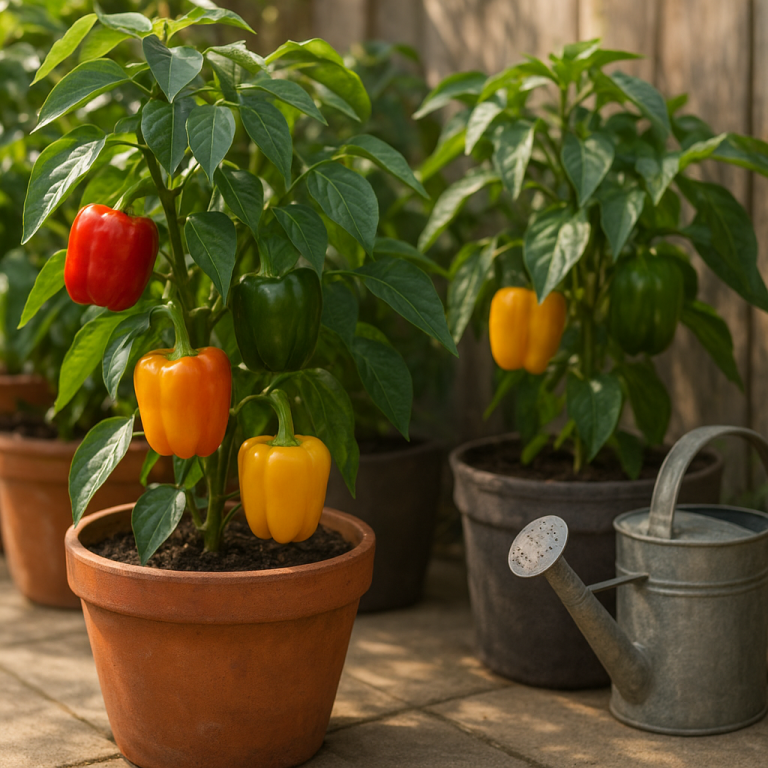
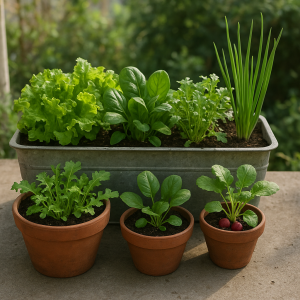
If you want a larger next step after tray growing, this container salad garden guide works well once you are ready for repeat harvests from bigger planters.
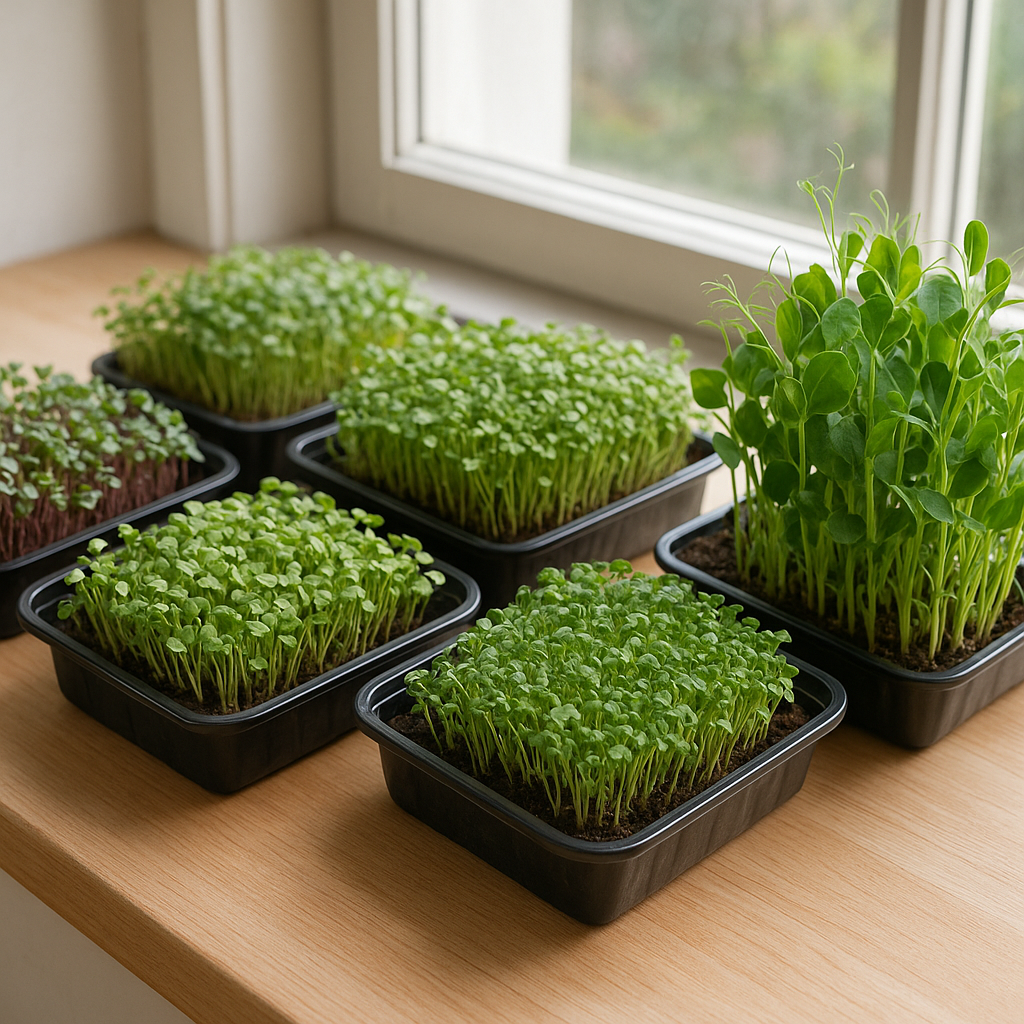
Start with easy seeds that germinate fast and stand up well
Some crops are much more forgiving than others when you are learning tray moisture and light. Radish, broccoli, mustard, arugula, and pea shoots are usually strong starter options because they germinate quickly and give you a clear harvest window. Sunflower can be excellent too, but only if you stay on top of airflow and moisture.
- Easy first choices: radish, broccoli, arugula, mustard, kale, pea shoots
- A little fussier: basil, cilantro, amaranth, and some very fine-seeded herbs
- Best for a first tray: pick one crop per tray instead of mixing several seeds with different speeds
Using single-crop trays makes troubleshooting much easier. When one tray goes wrong, you know exactly which seed, density, and timing caused the problem.
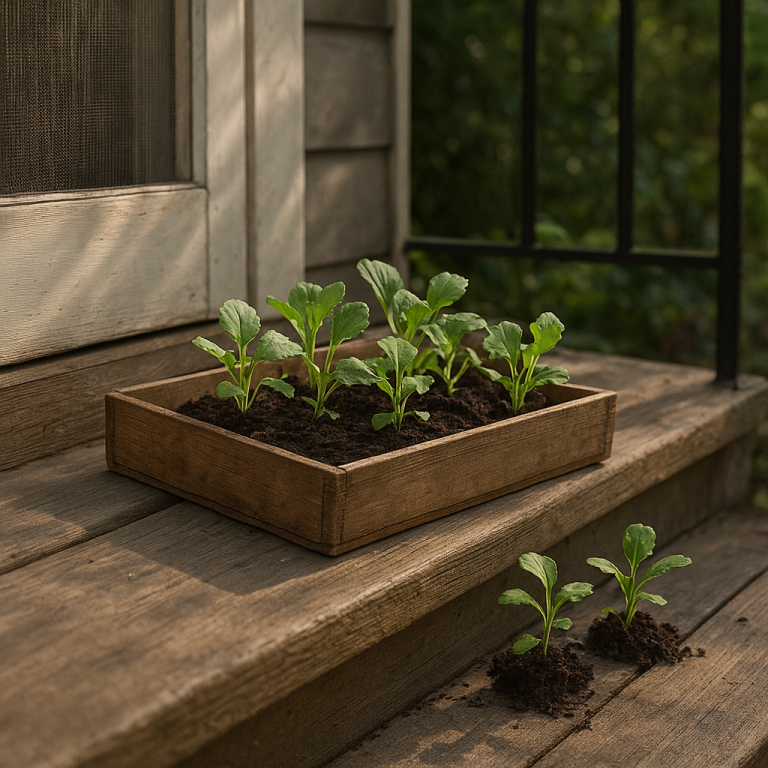
Use a simple tray setup that drains well
You do not need a complicated kit. A shallow growing tray with holes nested inside a second tray without holes is enough for most home setups. That lets you water from below after the seeds are established, which keeps the stems drier and lowers the chance of mold.
- Use a shallow tray rather than a deep pot.
- Add 1 to 2 inches of fine, loose growing medium.
- Make sure extra water can drain away instead of pooling around the stems.
- Wash trays between crops so old roots and slime do not carry over.
If you enjoy small-space indoor growing and want to branch into larger leafy crops later, starting a windowsill herb garden is a good next move once you can read light and moisture reliably.
Sow evenly instead of sowing heavily
Dense sowing is normal with microgreens, but uneven sowing causes most of the trouble. If half the tray is piled thick and the other half is sparse, the crowded patch stays wet longer, gets poorer airflow, and is the first place to turn fuzzy or sour.
- Moisten the mix before sowing so the seed does not wash into clumps on first watering.
- Scatter the seed as evenly as you can across the whole tray.
- Press the seed gently into the surface so it makes contact but is not buried deeply.
- Cover lightly only if that seed type benefits from it.
The goal is a tray that looks full and uniform, not a tray where seedlings are stacked on top of one another.
Get the tray through germination without turning it swampy
The first few days matter most. Seeds need moisture for germination, but they do not need a saturated tray. A surface that stays evenly damp works better than one that swings between bone dry and puddled.
- Mist or water gently at the start so seeds stay in place.
- Once roots grab the mix, switch to bottom watering when possible.
- Empty standing water from the lower tray after the mix has absorbed what it needs.
- Keep the surface damp, not shiny and waterlogged.
If the tray smells sour, feels slimy, or leaves wet residue on your fingers, it is staying too wet for too long.
Give microgreens stronger light than you think they need
Weak light creates tall, pale stems that lean, tangle, and collapse before harvest. A bright window can work, especially for a small tray, but many indoor growers get steadier results from a simple grow light placed close enough to keep the stems compact.
- Bright window: best if it gets strong direct light for several hours and is not blocked by trees or buildings.
- Grow light: usually more reliable for even growth and less leaning.
- Warning sign: if stems stretch hard toward the light, the tray needs more intensity or a closer light source.
Good light fixes more than appearance. It also shortens the crop cycle and makes the tray less likely to stay damp and stagnant for too long.
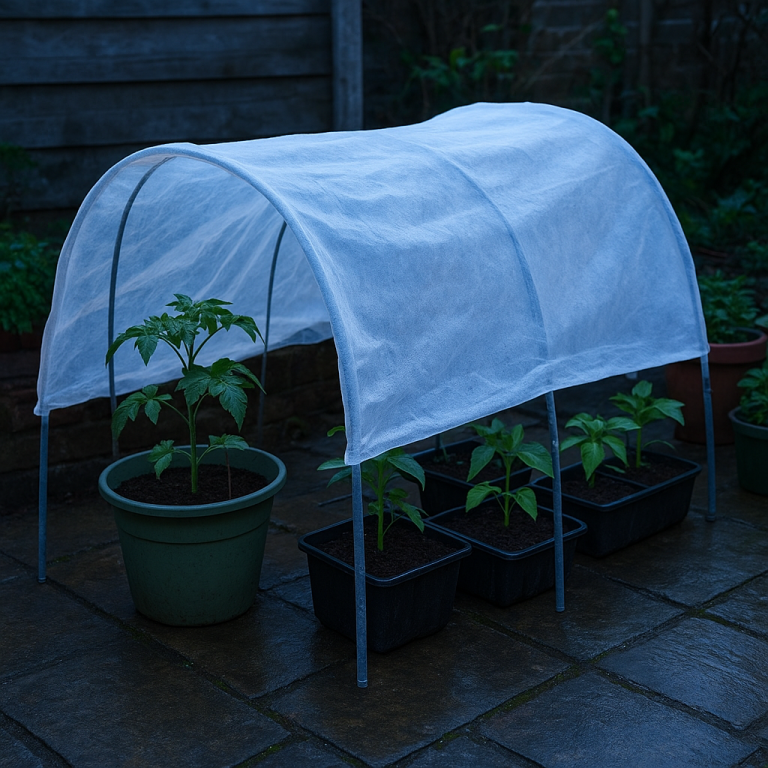
Airflow matters almost as much as light
Microgreens grow tightly packed, so stale air becomes a problem fast. Gentle airflow helps dry the surface, strengthens stems, and lowers the chance of fuzzy growth taking over a crowded tray.
- Do not jam trays into a dark, still corner.
- Space trays so leaves are not pressed against walls or window glass.
- Use gentle room airflow or a small fan nearby, not a harsh blast that dries the tray in hours.
That same balance matters in passive indoor systems too. If you decide to try edible greens in water later, the Kratky hydroponics method is a simple way to move beyond shallow trays without adding pumps.
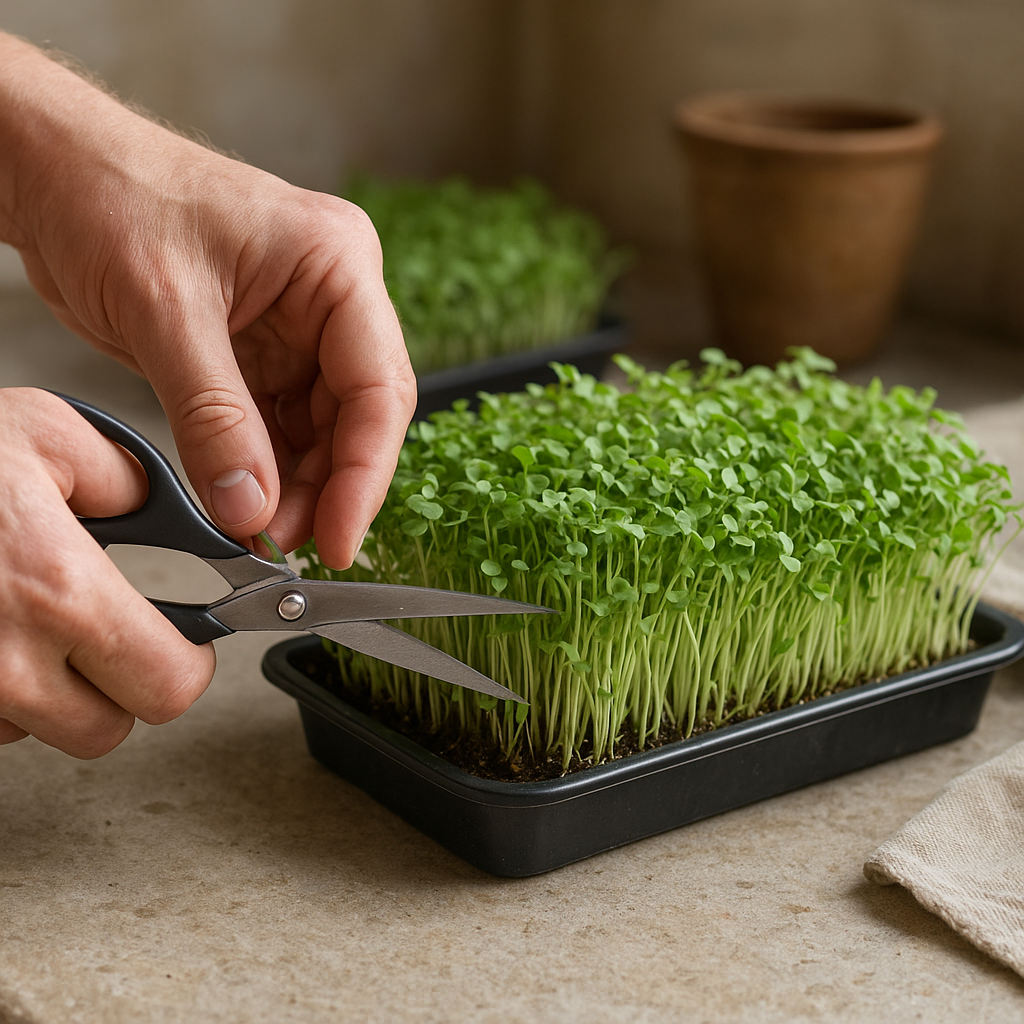
Harvest at the right moment and keep them dry
Most microgreens are best when the cotyledons are fully open and the first true leaves are just appearing. Wait too long and the stems toughen, roots bind the tray, and the flavor can turn harsher than you want.
- Use clean scissors or a sharp knife.
- Cut just above the soil line.
- Harvest when the leaves are dry.
- Rinse only if needed, then dry thoroughly before storing.
Stored dry in a container lined lightly with paper towel, many microgreens keep well for several days. They are best used quickly on eggs, sandwiches, grain bowls, soups, and salads.
Common microgreens problems and quick fixes
The tray has white fuzzy patches
That usually points to too much moisture, poor airflow, or overly dense sowing. Reduce watering, improve air movement, and stop piling seed into the same spots.
The stems are long, pale, and falling over
The light is too weak or too far away. Move the tray to a brighter spot or bring the grow light closer so the next batch stays shorter and sturdier.
The tray smells musty or sour
That is usually stagnant moisture. Let the medium drain properly, empty pooled water, and wash the tray before you start another round.
Germination is patchy
Seeds may have been sown unevenly, dried out early, or lost contact with the surface. Pre-moisten the mix and press the seed down more evenly on the next tray.
The greens got tough before you cut them
You likely waited a little too long. Harvest earlier next round, especially with faster crops such as radish and mustard.
Quick FAQ
How long do microgreens take to grow indoors?
Many are ready in about 7 to 14 days, though pea shoots and some larger-seeded crops can take a bit longer.
Do microgreens need direct sun?
Not always, but they do need strong light. A very bright window can work, though a simple grow light often produces sturdier, more even growth.
Can you reuse the soil from a microgreens tray?
It is usually better to refresh or repurpose it elsewhere rather than run the same tray medium repeatedly for microgreens. Old roots and leftover moisture make the next batch harder to keep clean.
What are the easiest microgreens for beginners?
Radish, broccoli, arugula, mustard, and pea shoots are some of the easiest because they germinate fast and give clear visual feedback when conditions are right.
The short version
Use a shallow tray, sow evenly, keep the medium moist but not swampy, and give the seedlings stronger light and better airflow than you might expect. Once you control those basics, microgreens become one of the fastest and least frustrating ways to grow something useful indoors.